
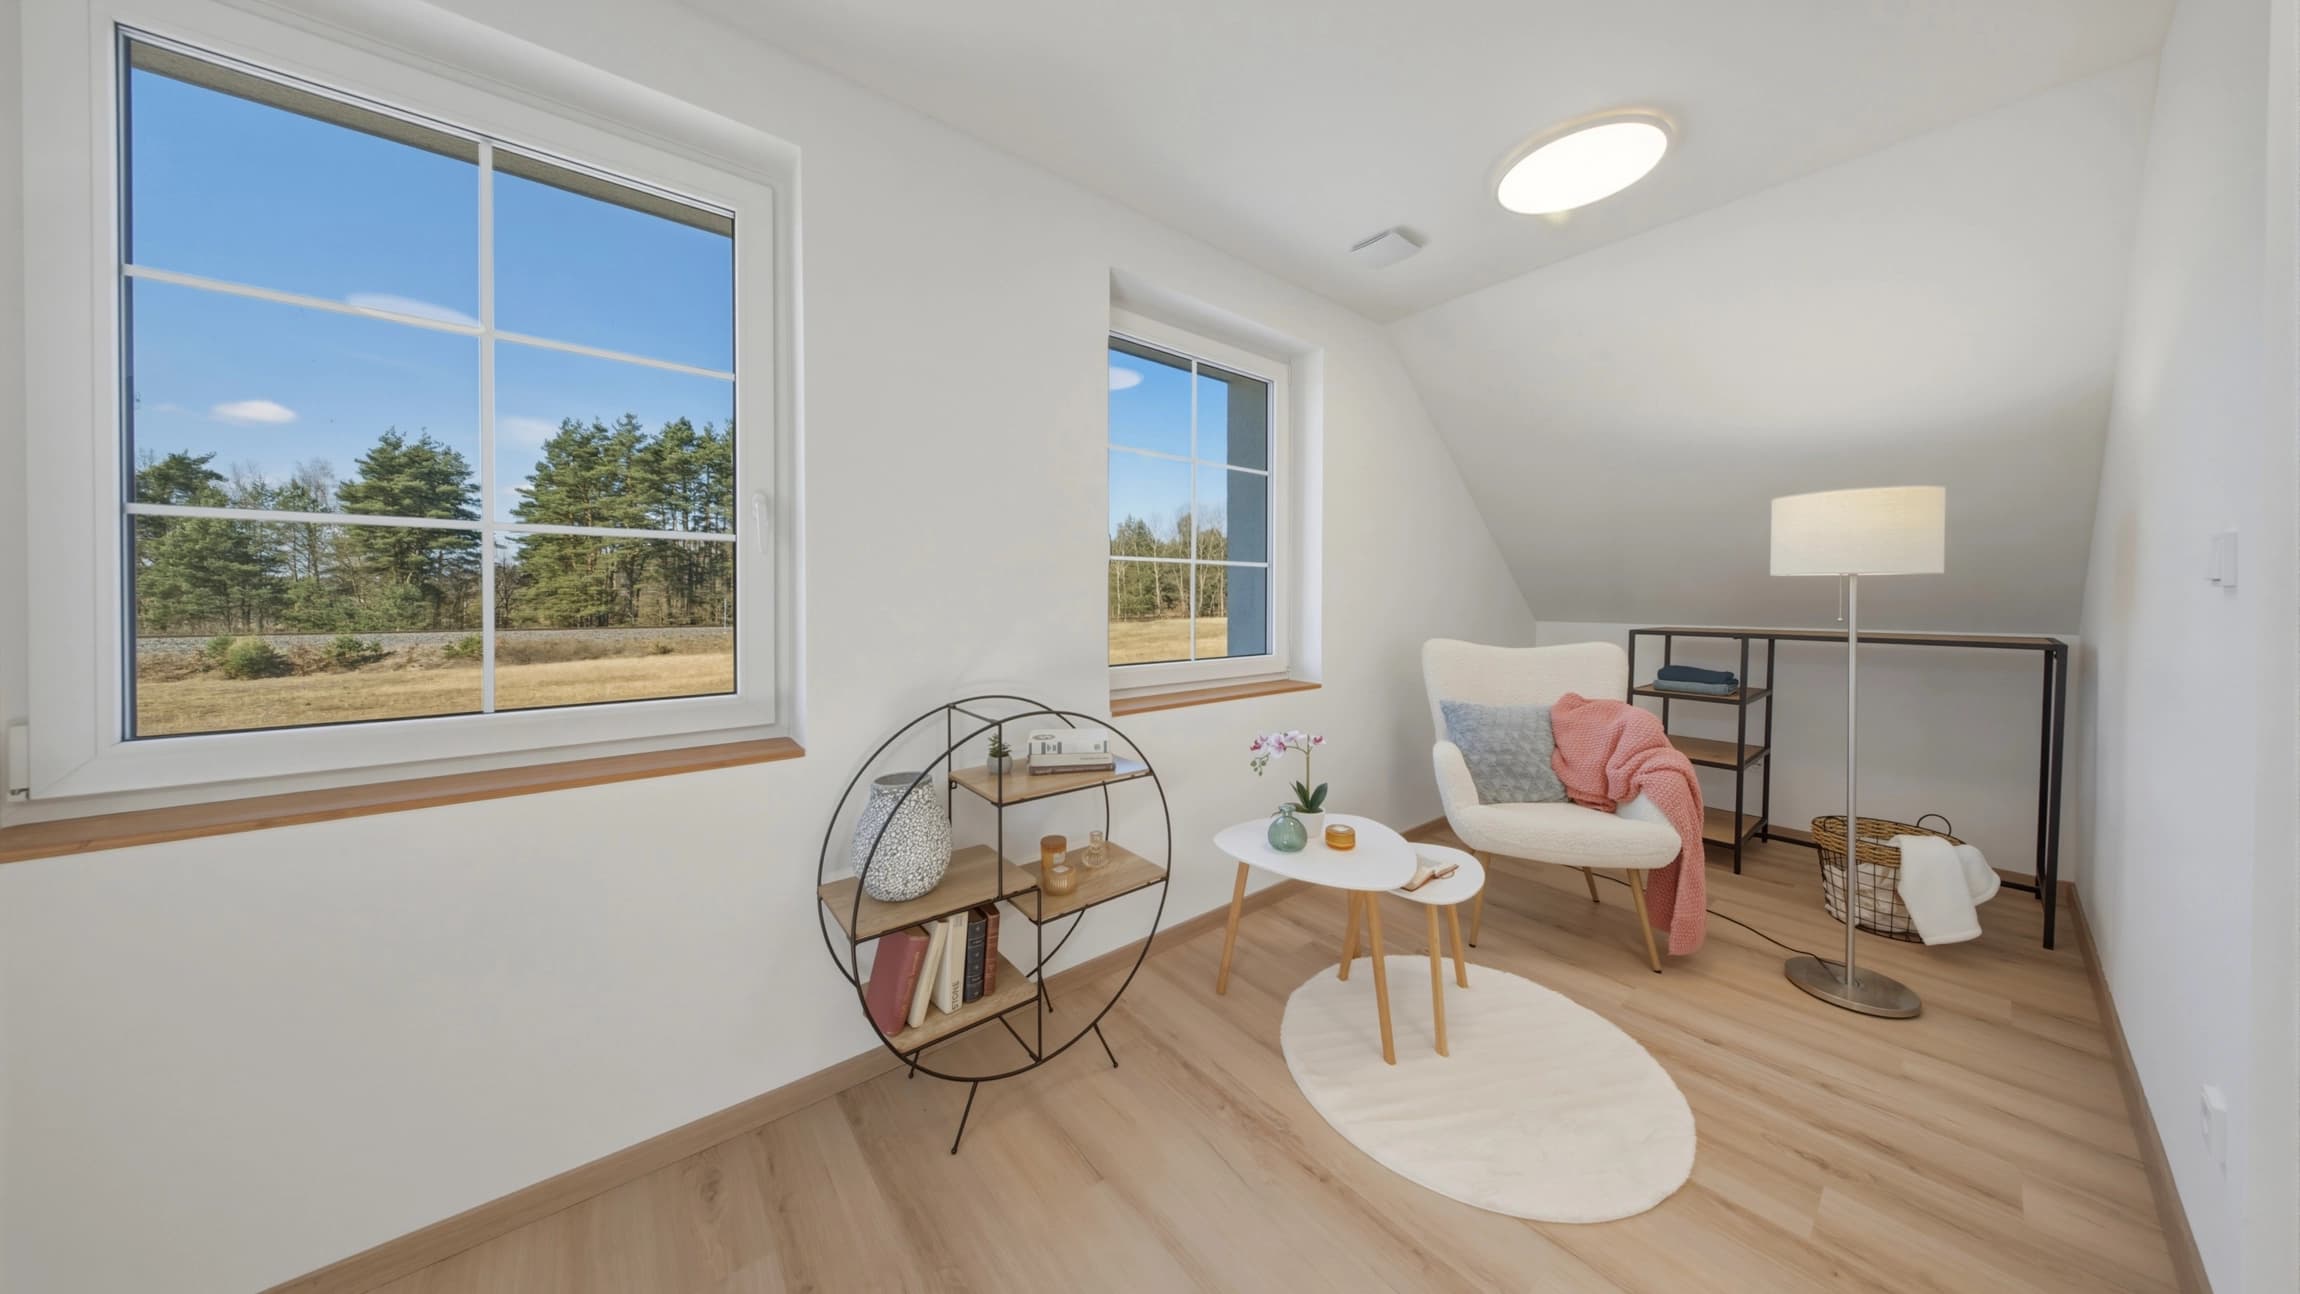
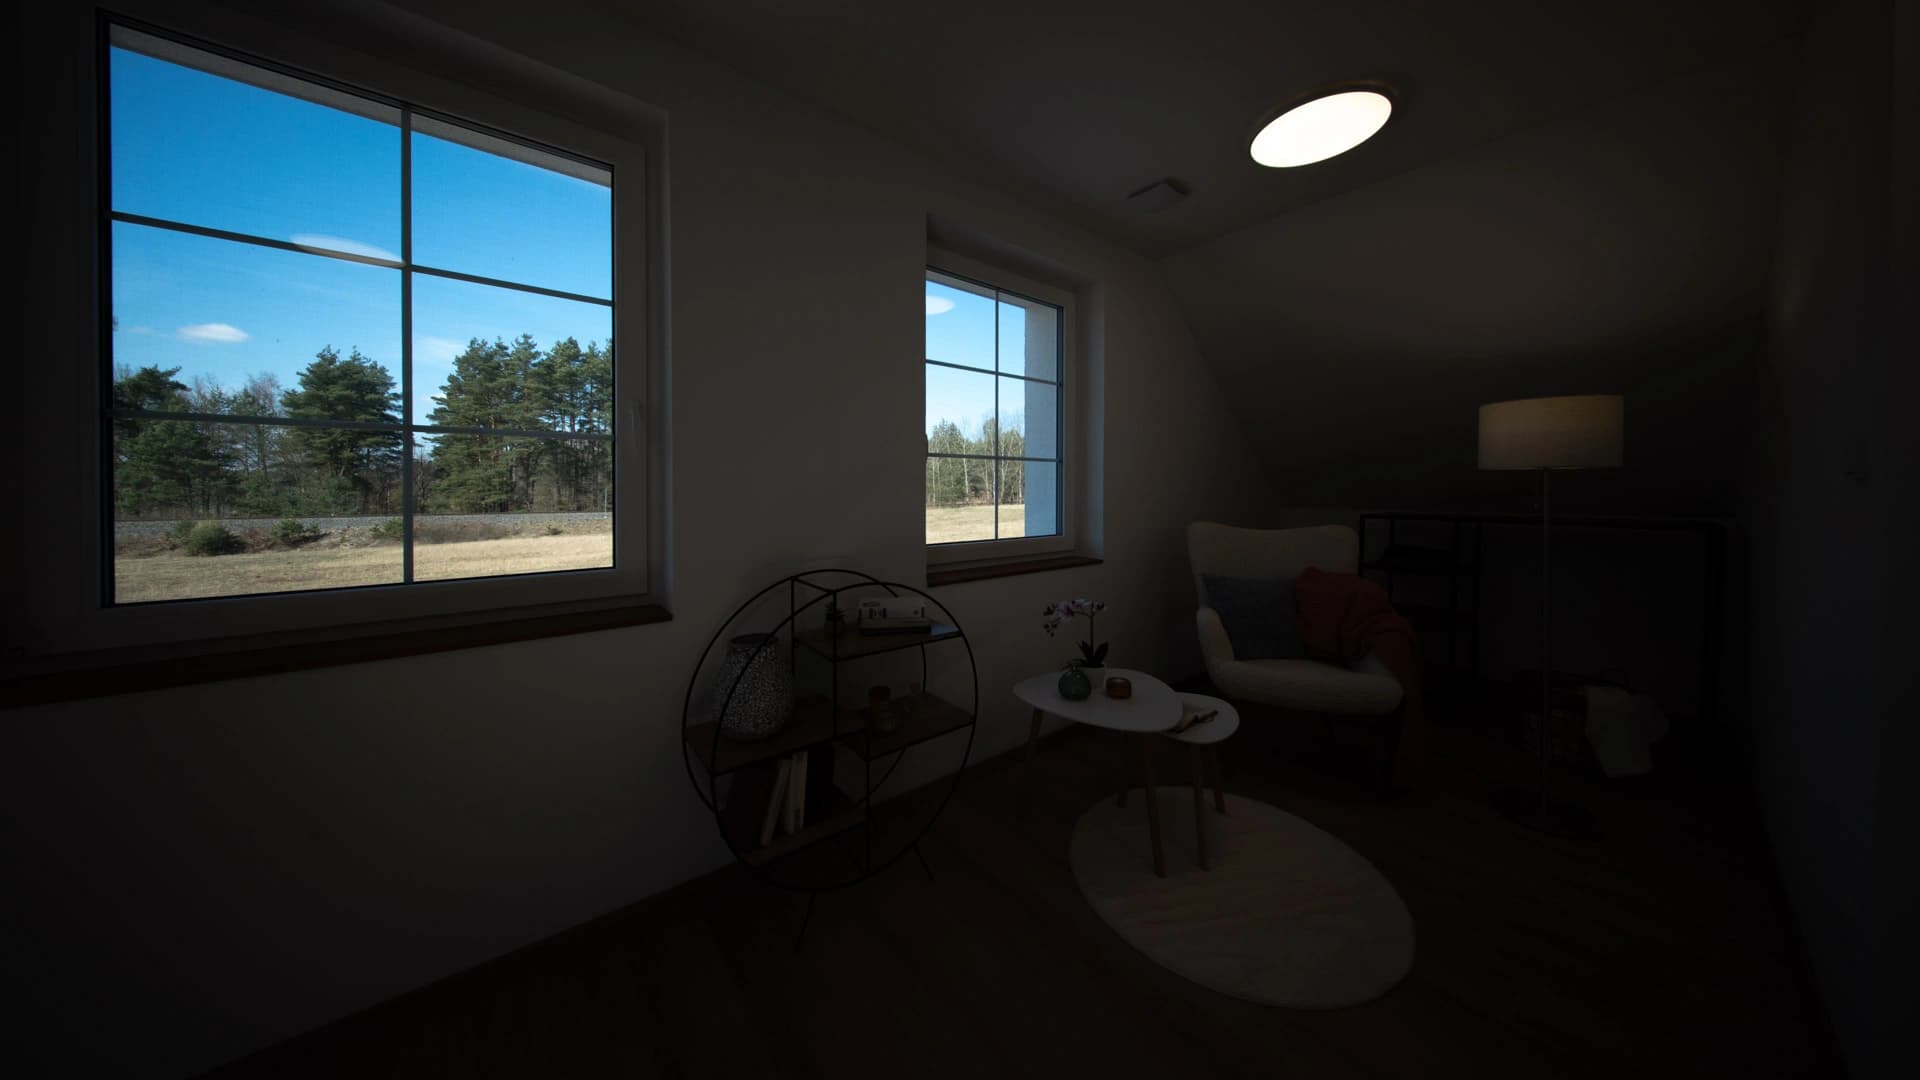
1. Prepare the scene and a stable composition.
First remove distracting items, check mirrors and choose your composition. Place the camera on a stable tripod and level it. The less the angle and scene change between exposures, the better the source material for merging.
Keep people from walking through the scene. Watch for curtains moving in a draught and branches moving outside. HDR alone cannot guarantee a clean merge of every moving object.
2. Set exposure bracketing.
Bracketing captures several frames at different brightness levels. Look for AEB or BKT on your camera; the name and available steps vary by model.
Keep the composition, focus, aperture and, where possible, ISO and white balance consistent throughout a bracket. Vary exposure using shutter speed. Changing the aperture would also change depth of field. If your camera offers it, RAW stores more original image data than a standard JPEG.
3. Decide from highlights and shadows, not a fixed number.
Start with a bracket you normally use, such as three or five exposures. A dark room with a bright view may need a wider exposure range. Seven exposures help only if they add useful information, not several equally blown-out frames.
Check the sky and window view in the darkest exposure. Assess the room's shadows in the brightest one. If important areas are missing, adjust the bracketing range and shoot again. Your camera's histogram and highlight warning can help.
4. Keep complete brackets and original metadata.
Copy files from the camera at their original quality. Do not send them through a messaging app that downsizes images or removes metadata. Keep each scene as a complete group; with a fixed count, one missing frame can also shift the following groups.
Check the order before uploading. FastHDR uses the selected file order for device uploads and filename order for cloud imports. Do not mix different angles or rooms within one bracket.
5. Match FastHDR settings to your actual files.
- Does every composition have five exposures? Select Merge exposures into HDR and 5 exposures. Twenty files will then produce four finished photos.
- Mixing five and seven exposures? Use Mixed counts / detect automatically and keep the original metadata.
- Only have one photo of each room? Select Individual photos. Copying the same image does not create additional exposures.
- After processing, check previews, grouping, window detail, verticals and moving objects. Only then choose results to buy.
Quick check before leaving the property
- Every composition has a complete exposure bracket without a change in framing.
- At least a darker exposure captures the required detail in the view.
- Focus and sharpness are correct even when zoomed in.
- People and important objects do not move significantly between exposures.
- Your originals are saved; a screen preview is not a photo backup.
FastHDR guide · Updated